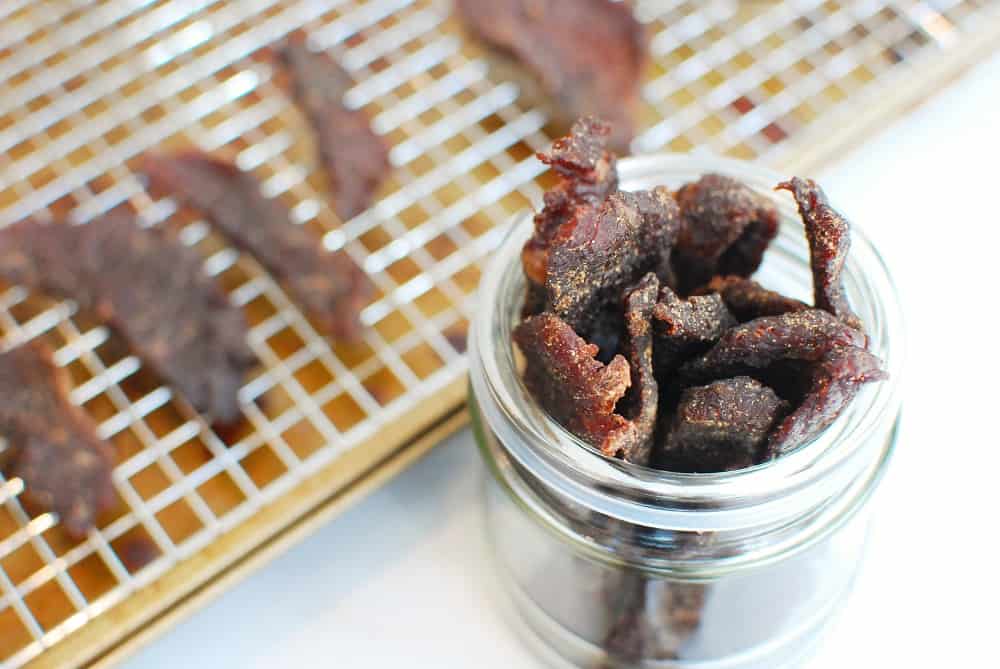
Gluten Free Sugar Free Marinade for Beef Jerky
Want a protein-packed snack that is easy to make and delicious? Try your hand at making homemade beef jerky! And bonus – this is a gluten free beef jerky, perfect for those of you that may struggle with finding store bought options that fit your dietary needs.
Disclosure: This post is sponsored by the Northeast Beef Promotion Initiative, a subcontractor to the Beef Checkoff. As always, all opinions are my own.
Why make your own homemade beef jerky?
You guys know shelf-stable high protein snacks can be a bit hard to come by (aside from packaged bars and whatnot). But homemade beef jerky is a naturally great source of protein, and you can toss it in your purse or gym bag so you're prepared when hunger strikes. (In fact, a serving of this beef jerky contains about 20 grams of protein.)
This gluten free jerky is also a good source of zinc (important for immune health) and Vitamin B12 (for brain and nervous system function).
And when you make it yourself, you'll probably save a little cash compared to buying it at the grocery store. #Winning!
How to make gluten free beef jerky
It's actually really simple to make this – it just takes a bit of time. All you need is a good lean cut of beef, and some pantry staples that you'll use to make a marinade.
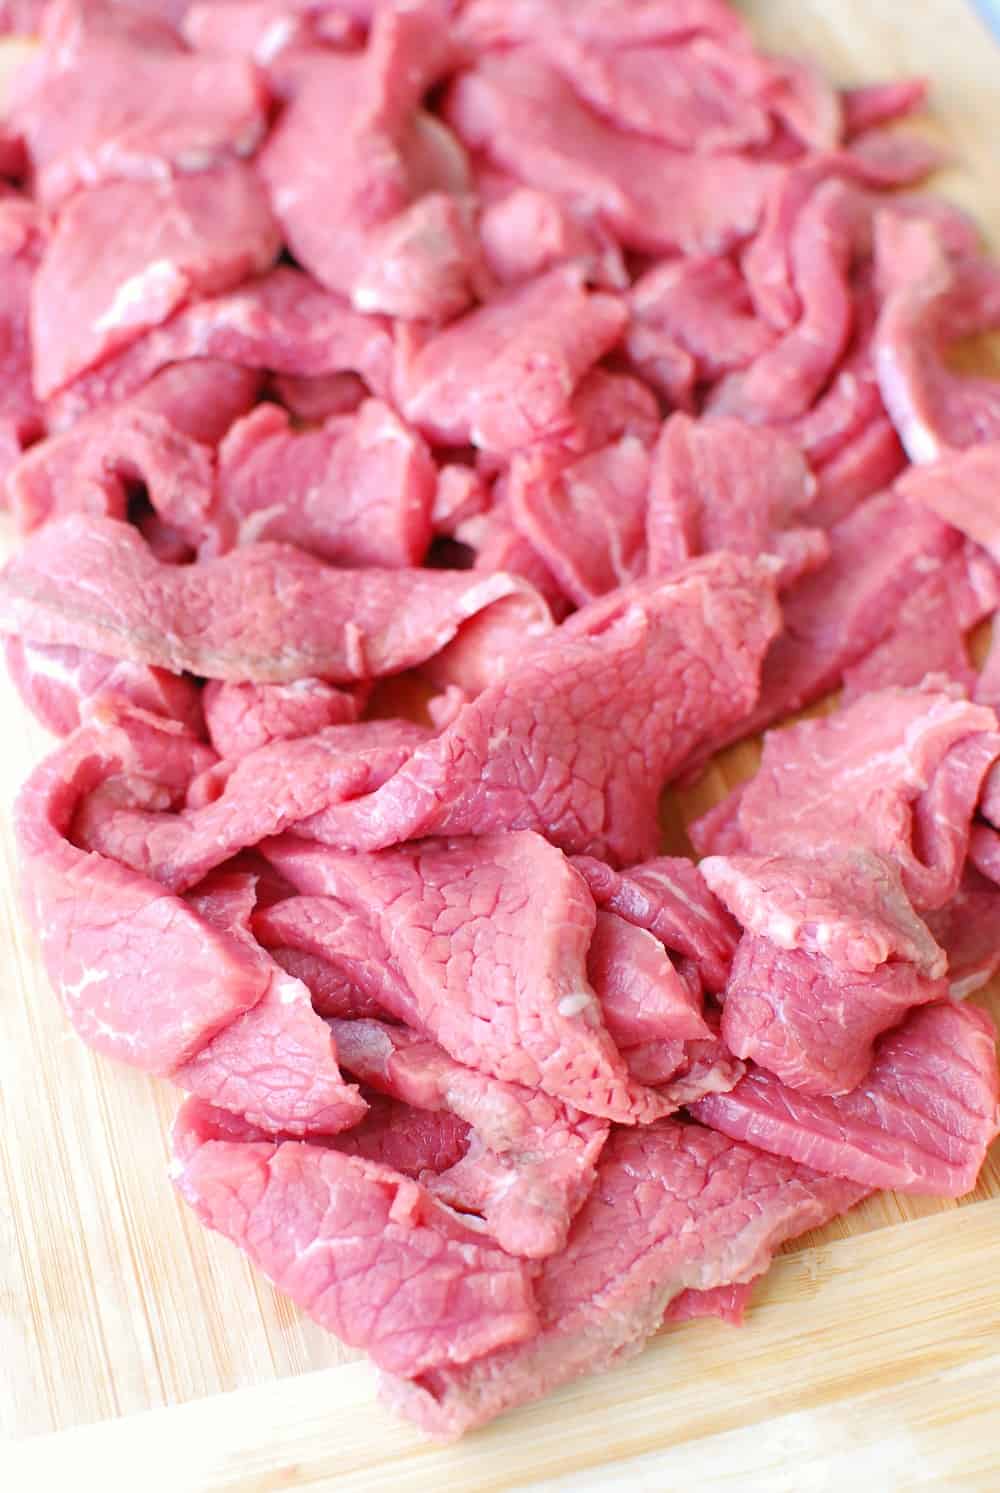
Slice the beef into thin slices, about 1/8 to 1/4 inch thick. The direction to slice the meat depends on your preferences – slicing it with the grain will make it chewier and tougher, while slicing against the grain will make it a bit softer and more tender to eat. I prefer slicing against the grain.
Depending on the size and shape of your roast, you'll then want to cut any big pieces in half or thirds, so they're about an inch wide and a few inches long.
Then, mix up your marinade. In this recipe, I used the following for my marinade:
- Liquid soy aminos
- Gluten-free Worcestershire sauce
- Apple cider vinegar
- Liquid smoke
- Brown sugar
- Salt
- Pepper
- Garlic powder
- Onion powder
You'll marinate your beef overnight, and then the next day, you'll cook it on racks in the oven. You'll start at a higher temperature for a short time to kill off any bacteria, then you'll reduce that to a nice low temperature for about 3-4 hours. This helps it safely dry out into the jerky you know and love!
Do you need to pre-cook meat prior to making jerky?
You'll find tons of recipes online for homemade oven jerky, and most just call for baking around 175 degrees for 4 hours. I have made it this way before and the texture is pretty incredible.
The problem is that this method comes with a health risk. The meat sits at low temperatures for an extended period of time, and bacteria on the meat may be able to survive the dehydrating process. This can put you at risk for foodborne illness.
Because of this, USDA guidelines recommend pre-cooking meat to 160 degrees prior to drying it into homemade beef jerky.
Though some online resources will say that you can heat the meat after dehydrating, this isn't optimal. Dehydrating makes some of the bacteria more heat resistant, so popping it in the oven after won't work the same way as heating it correctly beforehand.
There are two safe methods that you can use for pre-cooking the meat before making homemade jerky:
- Simmering Marinade: Pour the meat and marinade into pan and bring to a boil on the stovetop; let it simmer for about 5 minutes, or until a thermometer hits 160 degrees.
- Hot Oven: Roast the beef in the oven at 300 degrees Fahrenheit until it hits 160 degrees, then reduce the oven to the correct dehydrating temperature.
I have tested the recipe both ways and I highly recommend the second option. The taste, texture, and appearance are all far superior.
How to pre-cook meat with the hot oven method
It's a careful balance on this part as you want to make sure you hit the 160 degree mark, and you also don't want to spend too much time over that temperature or it can affect the texture of your final product.
Many online resources call for a 10-minute bake in an oven set to 300 – but I can tell you from experience this may not be long enough. I recommend about 20 minutes, or even more ideally – testing the temperature yourself so you can rest assured it was done correctly.
Here's how to do that:
Set up your beef jerky on your baking racks. Take the largest piece of jerky, and wrap it around an oven-safe meat thermometer probe. You can grab awesome thermometers like this (that's the exact one I have) where the probe can be left in the oven, but it's plugged into the monitoring portion outside the oven. This lets you continuously assess the temperature of a product.
Place your racks in the preheated 300-degree oven, with your oven safe thermometer probe in the piece of meat. Then just monitor it until it hits 160 degrees.
When it does, let it sit for a minute, then you can open the oven to remove the thermometer. Let a little heat escape from the oven by keeping it cracked while you reduce the oven temp to 175 degrees. Then close the oven door and move on with the dehydrating process.
How do you know when the gluten free beef jerky is done?
Alright so you've pre-cooked your meat, dehydrated it in a warm oven for a few hours, and now you're ready to pull it from the oven – but how do you know if it's done?
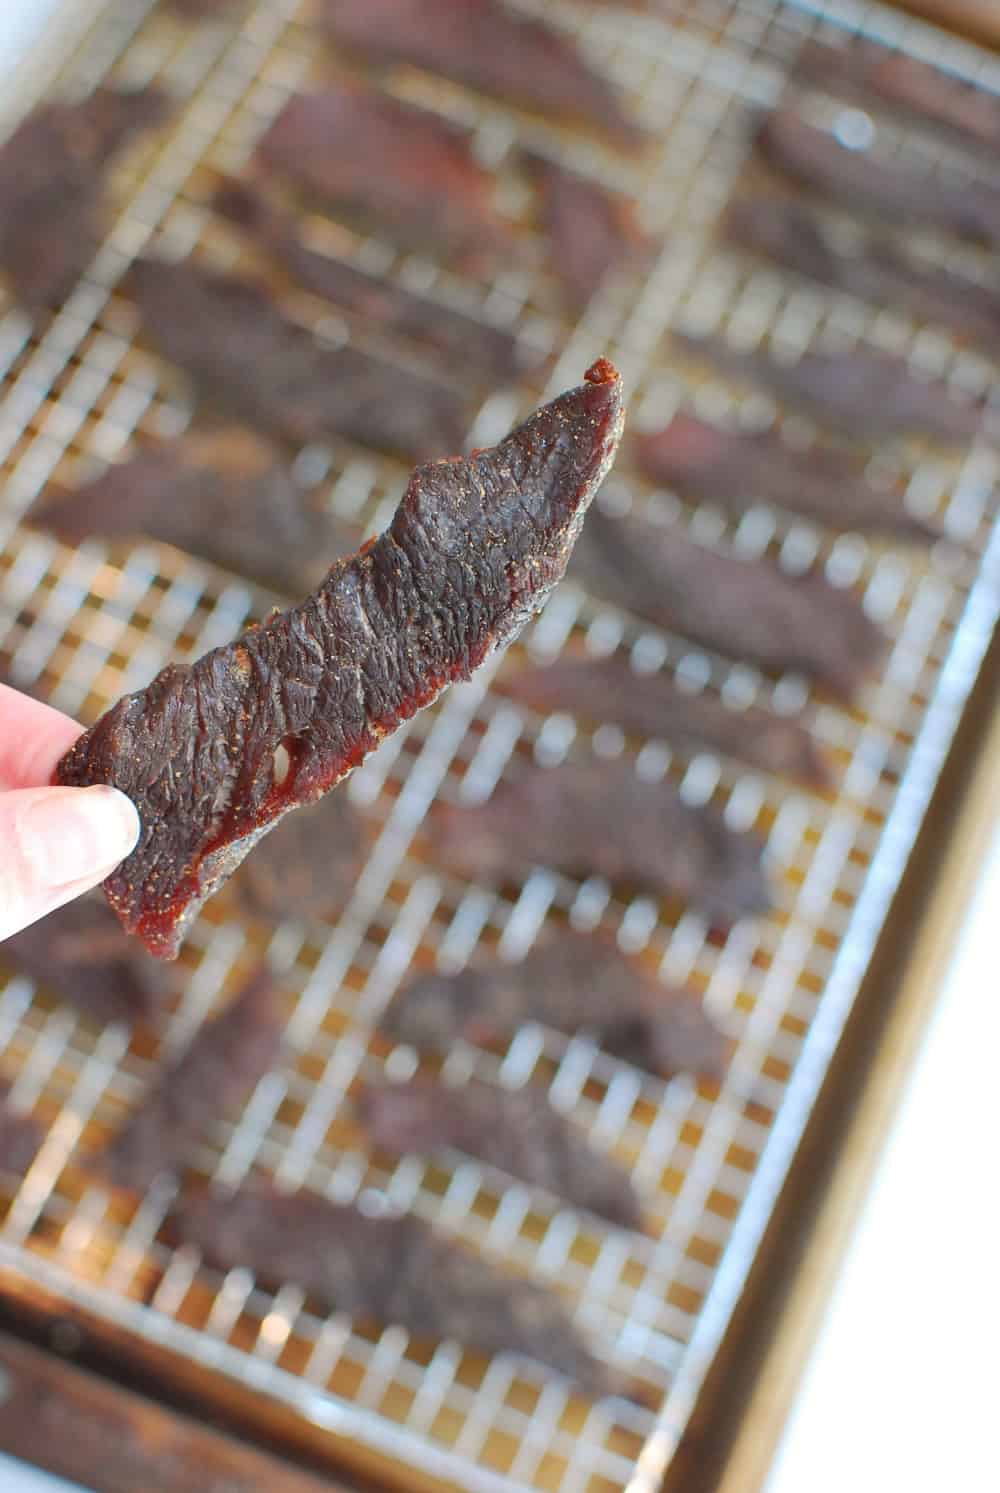
There's no perfect science to this. The rule of thumb is to remove a piece of jerky from the oven, bend it, and see what happens…
- If moisture comes out, it needs more time to dehydrate.
- If it automatically cracks in half, you've cooked it too long (it's still safe to eat, it just won't have the right texture).
- If it is pliable but the meat fibers start to separate a bit when you bend it, that's probably the sweet spot to pull it from the oven.
What type of meat should you use for homemade beef jerky?
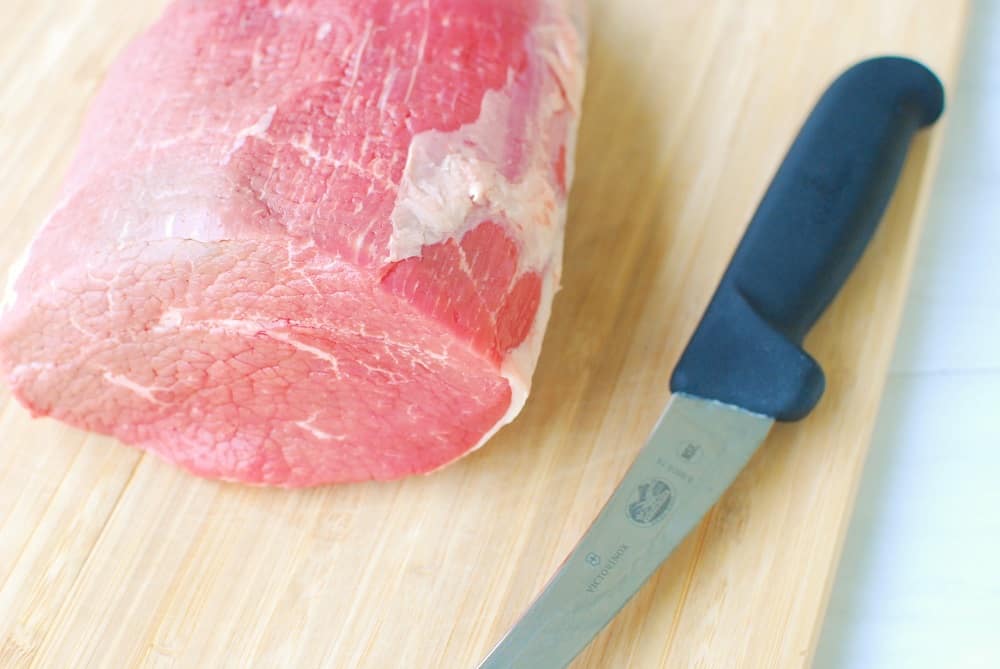
You want lean cuts of meat to make jerky, as fat marbled throughout the jerky will cause spoilage faster.
I used an eye of round roast for this recipe, and I feel like that's probably my favorite for making jerky. If you think of the cow, it comes from the area where the rump and hind legs are – areas that require a lot of movement and as such have strong, lean muscle.
You can also use the bottom round or top round, which come from that same general area as the eye of round. The bottom round comes from the outer portion of the rear leg, while the top round comes from the inner portion.
You can also use flank steak, though pound for pound it might be more expensive than the other options. For example, at the closest grocery store to me, an eye of round roast runs $5.99 per pound while flank steak runs around $9.99 per pound.
Helpful ingredient notes for gluten free eaters
One of the reasons I wanted to make this gluten free beef jerky recipe is that a lot of the jerky brands on the market contain gluten, most commonly via soy sauce.
It's not that there's anything wrong with that for most people – gluten is simply just a protein in wheat – but it can be concerning for those with medical issues. For example, for those with celiac disease, it's medically necessary to eliminate gluten from the diet.
So I wanted to make a beef jerky recipe that would satisfy even the pickiest jerky connoisseurs while still being appropriate for those who need to cut out gluten.
If you do have celiac disease or a wheat allergy, here are some helpful notes on a few of the ingredients:
1. Liquid aminos
When you crack open a bottle of liquid soy aminos, you'll notice they have the same fragrance as a bottle of soy sauce. While both products are made from soybeans, liquid aminos do not undergo fermentation. Soy sauce, on the other hand, involves fermenting a grain (typically wheat) with the soy. This means most soy sauces on the market contain gluten.
Using liquid aminos allows you to get that same umami flavor from the soy sauce, without the gluten.
A few more tips:
- There are tamari soy sauces which are made with little to no wheat. If you find a gluten free tamari sauce, you can easily substitute it in this recipe instead of liquid aminos.
- There are also coconut aminos on the market, which are different than soy-based liquid aminos. They have a sweeter taste but you can sub them in if you'd prefer those over soy. In that case, you may want to reduce the brown sugar by 2 tbsp.
- If you don't need to follow a gluten free diet, just use the regular 'ol soy sauce you've got around the house!
- It's always wise to double check labels to confirm that a product is gluten free.
2. Gluten free Worcestershire sauce
I also want to give you a heads up – many Worcestershire sauces on the market do contain gluten, as they use either barley-based malt vinegar or soy sauce in them. There are several brands on the market that are considered gluten free though. These are the ones you want to find for this recipe.
For example, at the time of publication, French's Worcestershire and Lea & Perrins Original Worcestershire were both labeled gluten free for their US products. Always double check product labels to ensure the one you're choosing meets your needs though.
3. Liquid smoke
Most brands on the market are gluten free, but always best to double check with the label/manufacturer to be sure.
How do you store beef jerky – and for how long?
According to the USDA, homemade beef jerky can be stored 1-2 months.
You can store beef jerky in an airtight container, vacuum seal bag, or a simple zip top bag. Some people recommend putting your jerky in a brown paper bag for a day or two after dehydrating it to help pull out any last moisture (the bag helps draw it out) before storing. You can also add something like a food grade desiccant bag to your plastic zip top bags.
That said – it's easy to sometimes pull jerky a little too quickly and end up with a moisture level that's a higher than ideal. For this reason, I recommend storing jerky in the fridge if you don't plan to eat it within a few days.
Alright, there's everything you need to know about making homemade gluten free beef jerky! I hope you enjoy this recipe, and if you do, be sure to leave a rating or comment.
Homemade Gluten Free Beef Jerky
Want to make your own protein-packed homemade beef jerky? Try this delicious gluten free beef jerky recipe!
- 2-2.5 pounds eye of round roast
- 1/2 cup liquid soy aminos
- 1/4 cup gluten-free Worcestershire sauce
- 1/4 cup brown sugar
- 2 tsp apple cider vinegar
- 2 tsp liquid smoke
- 2 tsp salt
- 2 tsp pepper
- 1 tsp garlic powder
- 1 tsp onion powder
-
Trim any visible fat from the eye of round roast. Slice the beef thinly against the grain to about 1/8-inch to 1/4-inch thickness. Depending on the size/shape of your roast, cut these slices in half or thirds so your strips of jerky are about 1 inch wide and a few inches long.
-
Mix all the ingredients for the marinade in a large zip top bag. Place the sliced meat in the bag and let marinate at least 3 hours, but preferably overnight.
-
When finished marinating, remove from the fridge. Adjust your oven racks so you can place two baking sheets in the oven (one bottom middle and one top middle). Preheat the oven to 300 degrees.
-
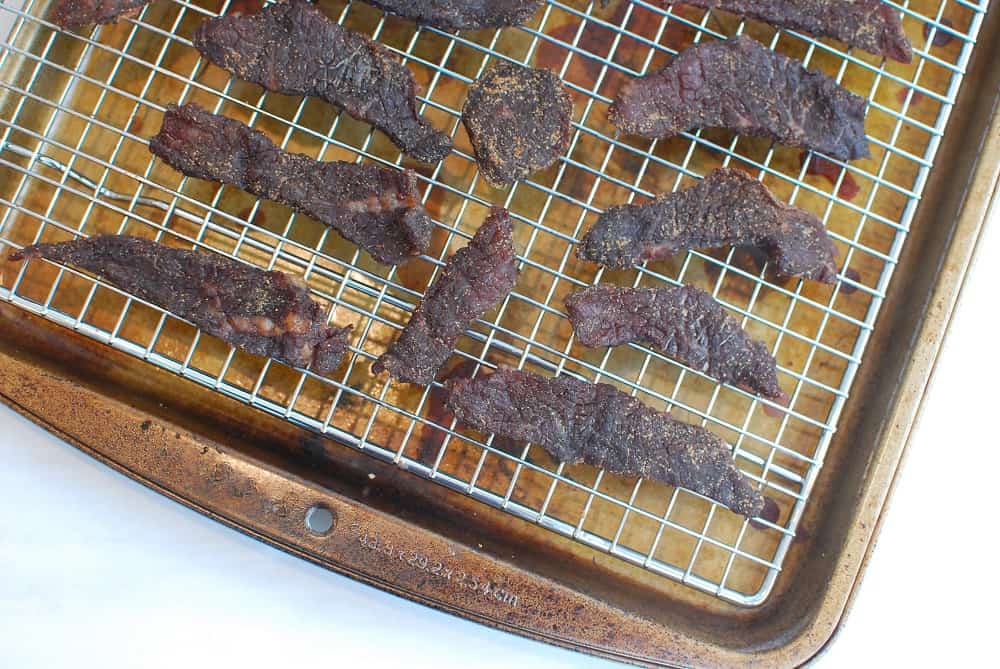
Place oven-safe cooling racks on top of baking sheets (you'll need two of each; the baking sheets help catch any marinade or moisture that drips off). Lay your strips of jerky on these racks.
-
Wrap one piece of jerky in an oven-safe meat thermometer probe, then place both pans of jerky in the oven.
-
Heat for 15-25 minutes, or until the thermometer in the meat reaches 160 degrees. Let sit at that temperature for a minute, then open the oven door and remove the thermometer. Keep the oven door cracked open for about 30 seconds while you reduce the oven temperature to 175 degrees (this will help bring it down to the dehydrating temperature more quickly). Close the oven door.
-
Continue dehydrating the meat at 175 degrees for approximately 3-4 hours, or until it reaches the proper texture. Start checking around 3 hours for doneness. Enjoy!
Notes:
- You can substitute top round or bottom round for the eye of round roast.
- If on a gluten free diet, be sure to double check the liquid aminos, Worcestershire sauce, and liquid smoke to ensure that they are gluten-free.
- If you're not gluten free, you can use soy sauce instead of soy aminos.
Nutrition analysis (approximate per serving; assumes starting weight of meat was 2.25 pounds and that end product was divided into 12 servings):
138 calories, 3 g fat, 1 g sat fat, 496 mg sodium, 6.5 g carbohydrate, 5.5 g sugar, 21 g protein, Vitamin A: 0%, Vitamin C: 0%, Calcium: 2%, Iron: 7%
Calories: 138 kcal
Let us know how it was!
Share: If you made this homemade gluten free beef jerky, what did you think? Do you have any other great marinade ideas for jerky?
References:
USDA. Jerky and Food Safety.
- Author
- Recent Posts

Chrissy Carroll is a Registered Dietitian and USAT Level I Triathlon Coach. She specializes in sharing nutrition and fitness tips, as well as recipes, for runners, triathletes, and active women.Chrissy holds a Bachelor's Degree in Nutrition, a Masters Degree in Public Health, and is also an ACSM Certified Personal Trainer.
Source: https://www.snackinginsneakers.com/homemade-gluten-free-beef-jerky/
0 Response to "Gluten Free Sugar Free Marinade for Beef Jerky"
ارسال یک نظر